 I've never made any claims to be any sort of chef around my house and I think my husband has come to accept that (not that he has a choice).
However, the plus side is that when I do surprise the family with something that I might not usually make, they're twice as excited about it! Plus, when I take the "easy way out" and find shortcuts, as with these cinnamon rolls, they don't mind in the slightest.
As it seemed, most cinnamon roll recipes that I was finding required multiple ingredients, pulling out the bread machine (which hasn't been out of the box in years), and quite a bit of time and work.
Instead, after a little searching, AllRecipes.com inspired me with their Overnight Cinnamon Rolls that don't require much more than some dinner rolls and a few toppings. Best of all, they're fast and easy and completely customizable. Like nuts? Add them! Want to whip up a sugary frosting to add on top? Do it!
In the end, the amount of work is minimal but the result? YUM!
Cinnamon Rolls without the Bread Machine
¾ cup raisins
20 frozen dinner rolls
1 cup brown sugar
¼ cup instant vanilla pudding mix
1 tablespoon ground cinnamon
¼ cup butter, melted
½ cup chopped pecans (Completely optional)
 To be done the night before:
Soak the raisins in warm water for 10 minutes; drain.
 In a medium bowl, combine the brown sugar, pudding mix, and cinnamon. Place the rolls in a lightly greased 10" Bundt pan or a 13x9" cake pan and sprinkle the soaked raisins and cinnamon mixture on top (if you're using them, toss on those chopped pecans as well).
 Pour the melted butter right on top to complete the sticky, tasty pile.
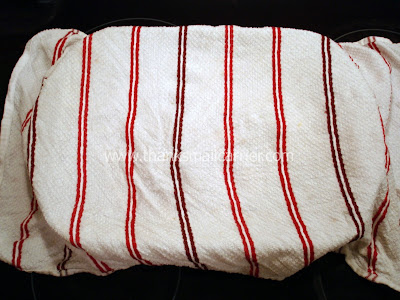
 Cover with a clean, damp cloth and let stand overnight at room temperature. I like to say goodnight to my cinnamon rolls after I've tucked them in, but that might be just me.
 The following morning:
Preheat oven to 350°
Remove the cloth and be amazed at just how much those little rolls have puffed up.
 Bake 25 minutes or until golden brown.
 Hard part: let cool 5 minutes before pulling these yummy guys apart and enjoying every sticky, sweet bite.
 The first time I made these, my husband tried to pretend that he wasn't all that thrilled with them... but when he was going back for thirds, he finally admitted that he was. We store the leftovers in an airtight container and they're just as delicious pulled out later in the day with or without being slightly heated in the microwave.
Enjoy!


5 comments:
Oh my yum! I need to make something sweet, as I am craving sweets. These look delicious, and quite easy!
Yummy! Do you have the bread machine recipe too? I bake bread weekly. Thanks
These look delicious. I should so make them for hubby!
Okay seriously? Those look so delicious! OMG!
These do look good, and easy. Have to try them. I know how super busy you can get as a mom, but I happen to own a bread machine. I want to give you a little nudge to get the bread machine out of the box and use it. It only take 5 minutes to throw the ingredients in and push a couple of buttons. The machine does the rest. Ok, you do have to peek at it after half an hour to make sure everything looks ok, but that's it. I think you'd be surprised how easy and fast it is.
Post a Comment